GitHub Copilot in VS Code learned to talk to remote MCP servers in mid-2025, OAuth and all. Mneme is one of those servers. Five minutes to wire it up — and Copilot’s the one client where the Work-only scope matters most, because Copilot lives inside an editor that’s almost always pointed at work code.
Version note: this guide assumes VS Code 1.101 or later. Earlier versions had MCP behind a flag with no remote-OAuth support.
Sign in to Mneme
If you haven’t already, open mneme.tools and click Continue with Google. You’re in.
Copy the connector URL
In Mneme, open Settings from the side menu. Halfway down there’s a field labelled MCP Connector URL. The value is:
https://mneme.tools/mcp
Click the copy icon. That’s the link Copilot needs.
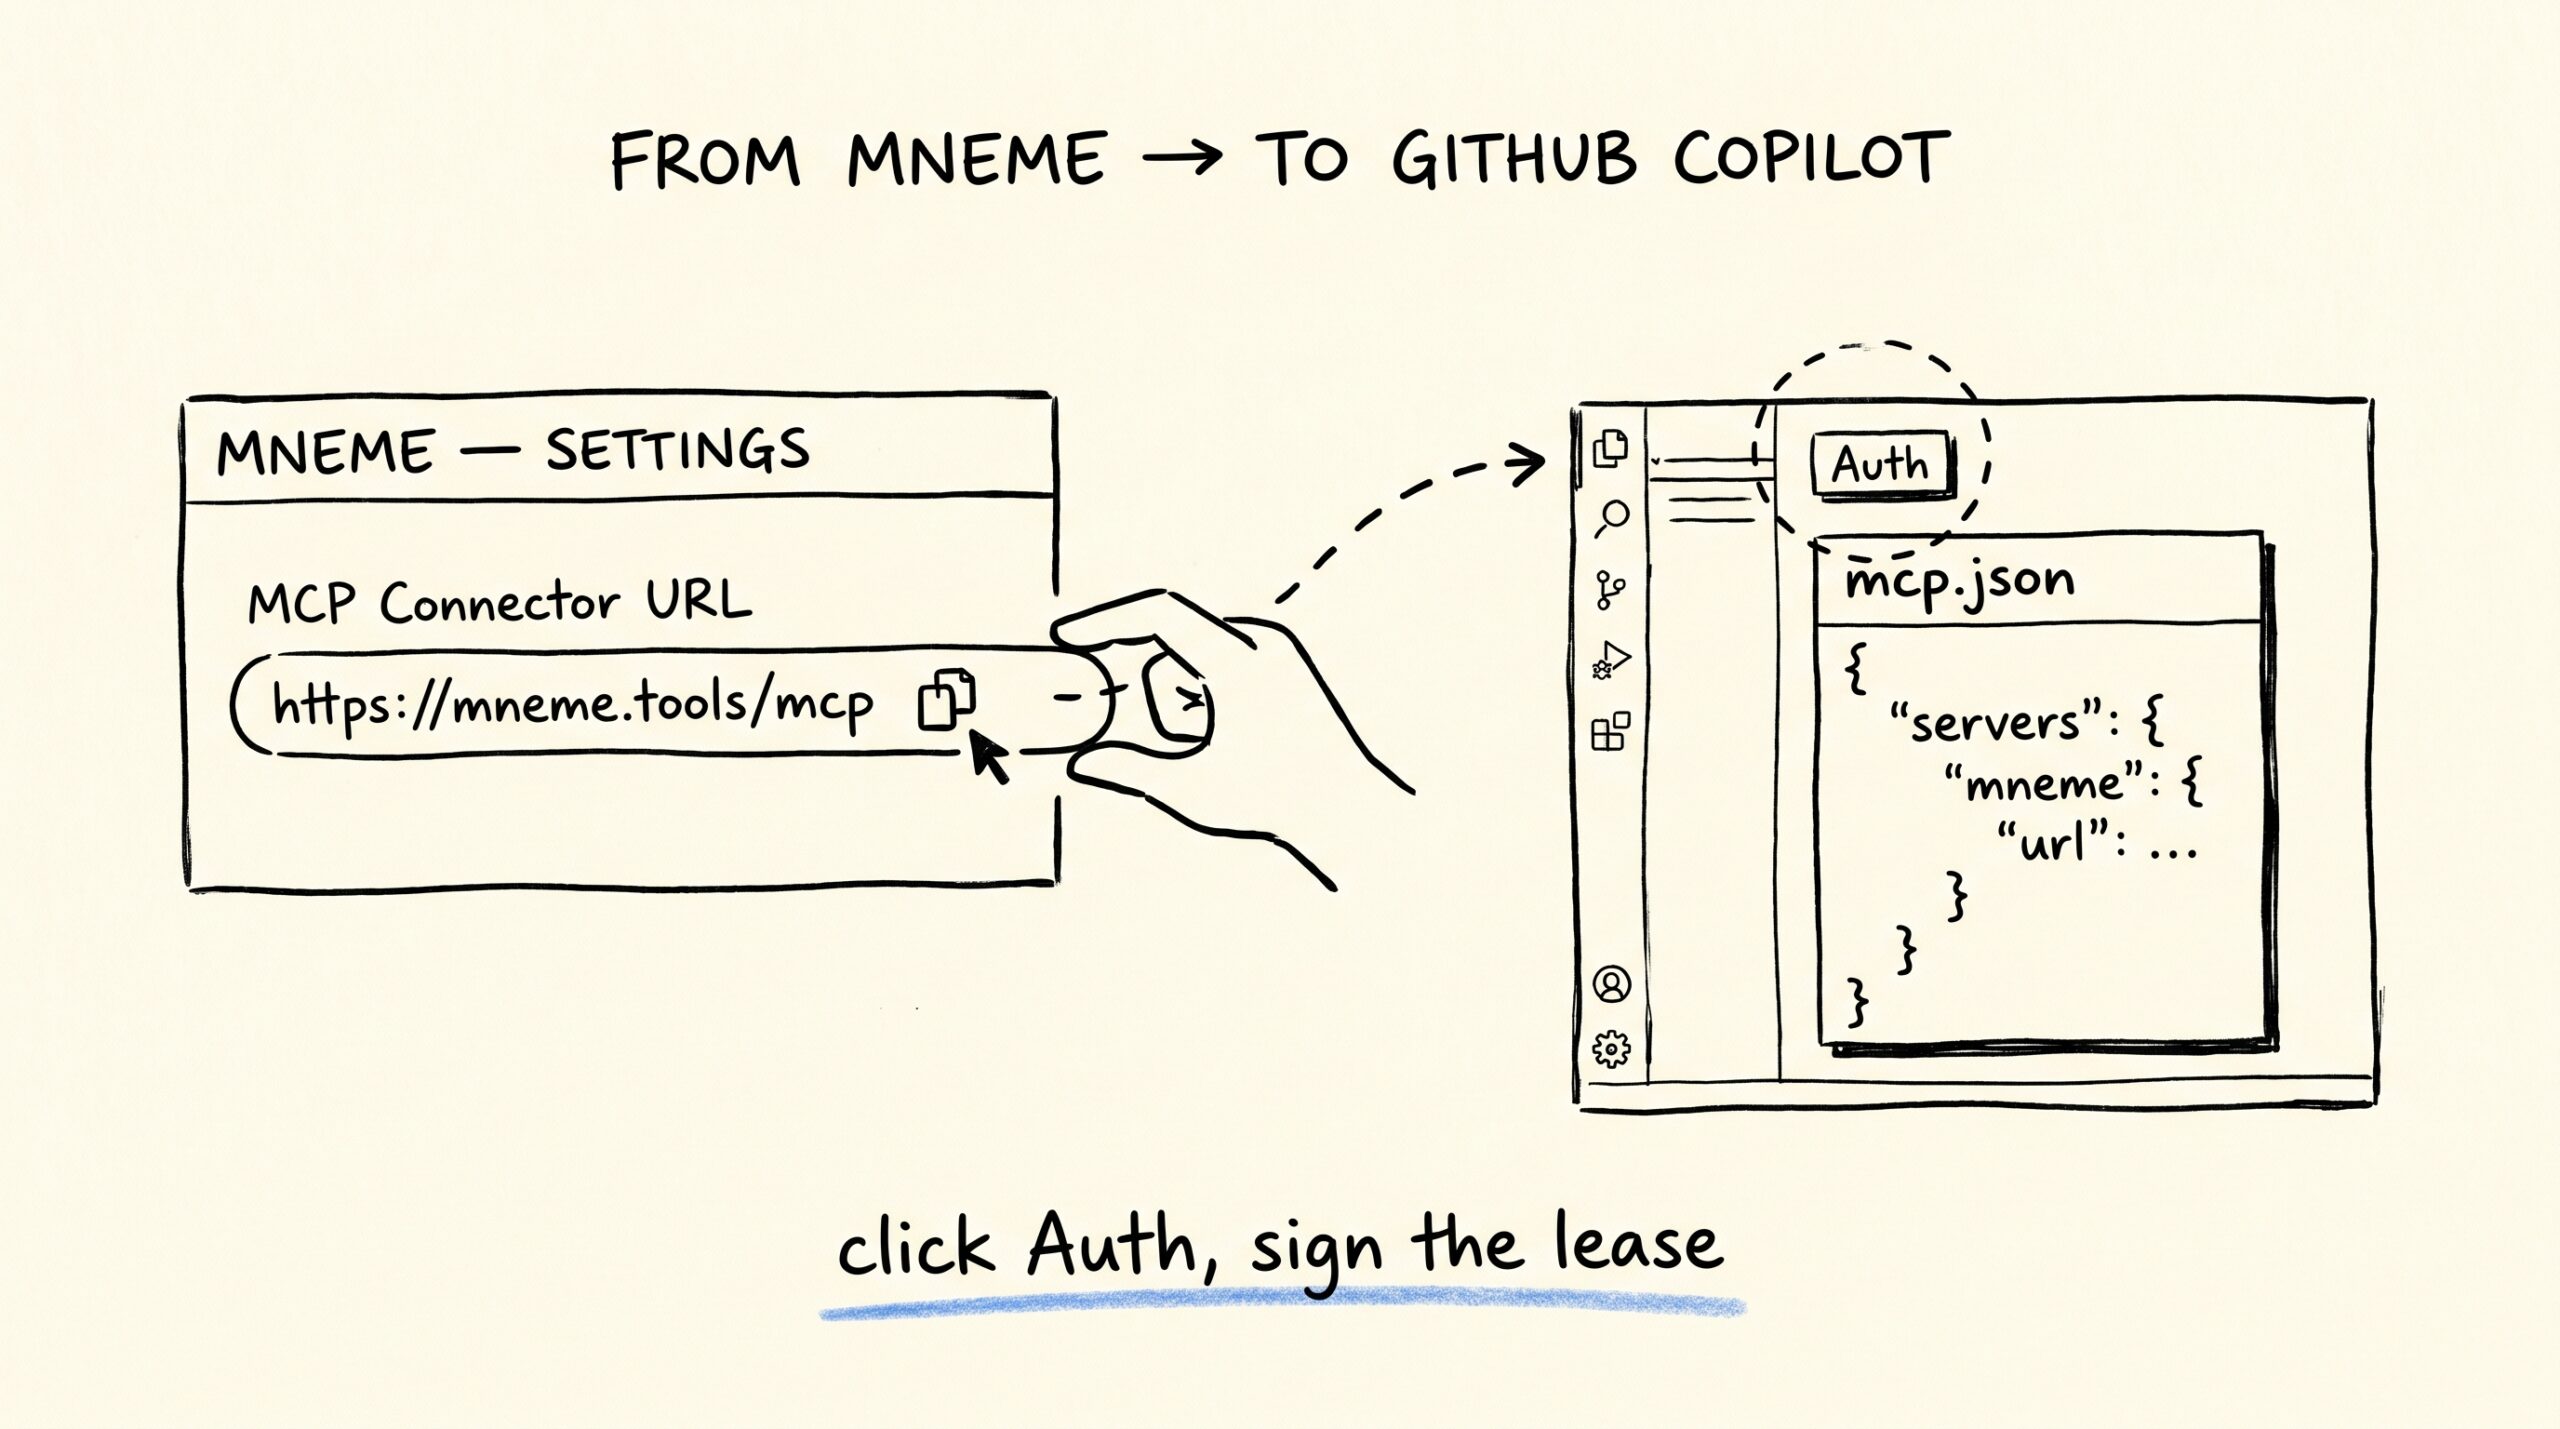
Add Mneme to your GitHub Copilot MCP config
Copilot reads MCP servers from a file called mcp.json. You have two places to put one:
- Per workspace —
.vscode/mcp.jsonat the root of the repo. The server is only available when this folder is open. - Per user — open the Command Palette (Cmd+Shift+P / Ctrl+Shift+P) and run MCP: Open User Configuration. Available in every VS Code window.
For Mneme, per-user is usually what you want. Add an entry like this:
{
  "servers": {
    "mneme": {
      "type": "http",
      "url": "https://mneme.tools/mcp"
    }
  }
}
If the file already has other servers, add mneme alongside them.
Authenticate
Save the file. Above the mneme block, VS Code shows a small CodeLens row with an Auth action. Click Auth.
A browser window opens.
The page asks for your email and offers a Send sign-in link button. Type your email, click the button, then check your inbox.
Yes — even though you’re already signed in to Mneme on the web. Copilot is a different door, and Mneme only opens doors with proof you can read your own email. It’s signing the lease for this VS Code, not retyping your login.
Click the link in the email and confirm.
If you see Your account is not authorized to access Mneme — Mneme is in early access and accounts are added by hand. Reply to the invite email and we’ll add you.
Pick what this Copilot can see
Mneme shows the Authorize access panel with two checkboxes:
- Personal — Home, mobile, cowork — your full personal vault.
- Work — Work-tagged docs only. Enable on work devices so personal data stays private.
This is the panel that earns its keep on Copilot. If your VS Code is open on a work repo more than half the time you’re in it, uncheck Personal. Your work Copilot will see your work-tagged Mneme docs and nothing personal — which is exactly what you want when you’re sharing screens or pair-programming in a meeting room. (Why that matters →)
Click Authorize. The browser closes. Copilot is now connected.
Check it works
Open the Copilot Chat panel and switch to Agent mode (the dropdown above the message box). Click the tools icon and confirm mneme is in the list, toggled on.
Then ask:
what’s in my Mneme vault about the current sprint?
If it pulls a real excerpt back, the wire is live. From here on, Copilot has the same memory layer as your other AI clients — across machines, across repos, across the times you give up and reinstall VS Code.
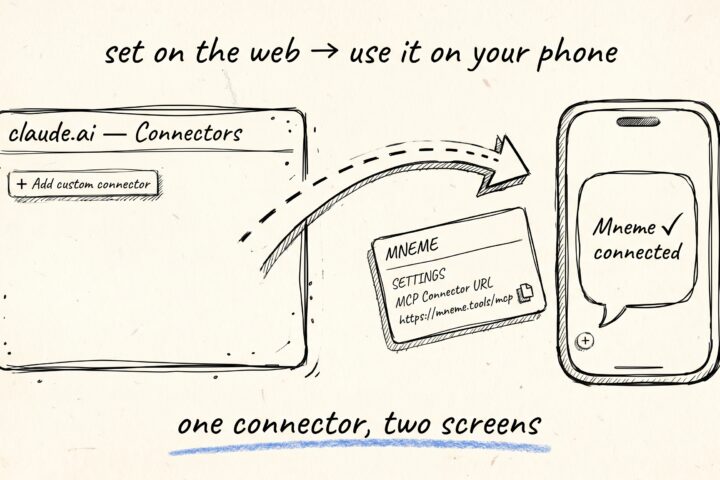
Connect Mneme to Claude on mobile
You want Mneme on your phone — Claude on mobile, talking to the same vault your desktop already sees. The setup happens on the web (Anthropic's mobile apps treat custom…
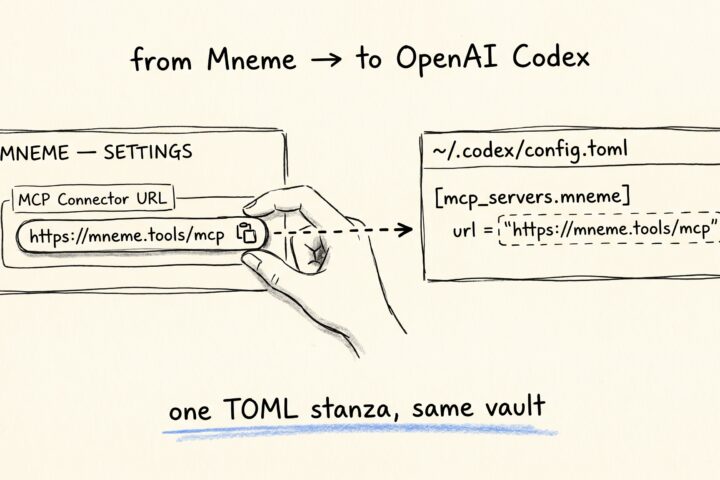
Connect Mneme to OpenAI Codex
OpenAI's Codex CLI talks to remote MCP servers via a small TOML config and one login command. If you've already wired Mneme into Claude Code or Gemini CLI, this is…