OpenAI’s Codex CLI talks to remote MCP servers via a small TOML config and one login command. If you’ve already wired Mneme into Claude Code or Gemini CLI, this is the same shape — different config language, different command name, same vault on the other side.
This guide covers the Codex CLI. ChatGPT’s hosted Codex workspace handles MCP through OpenAI’s “Apps” interface (renamed from Connectors in late 2025), which is a separate flow from anything you’d run locally.
Sign in to Mneme
If you haven’t already, open mneme.tools and click Continue with Google. You’re in.
Copy the connector URL
In Mneme, open Settings from the side menu. Halfway down there’s a field labelled MCP Connector URL. The value is:
https://mneme.tools/mcp
Click the copy icon. That’s the link Codex needs.
![Hand-drawn ink illustration on cream paper. On the left, a Mneme settings card with the MCP Connector URL https://mneme.tools/mcp. A hand pinches the URL pill, dashed arrow leading right to a config file labelled '~/.codex/config.toml' showing the TOML lines '[mcp_servers.mneme]' and 'url = "https://mneme.tools/mcp"'.](https://blog.mneme.tools/wp-content/uploads/2026/04/connect-codex-a-scaled.jpg)
Add Mneme to your Codex config
Open ~/.codex/config.toml. Create the file if it doesn’t exist. Add an entry for Mneme:
[mcp_servers.mneme]
url = "https://mneme.tools/mcp"
That’s the whole config. No client ID, no secret — Codex picks up Mneme’s OAuth metadata when it logs in.
If you want Mneme available only inside one project, use .codex/config.toml at that project’s root instead.
Authenticate
In your terminal, run:
codex mcp login mneme
A browser tab opens automatically.
The page asks for your email and offers a Send sign-in link button. Type your email, click the button, then check your inbox.
Yes — even though you’re already signed in to Mneme on the web. Codex is a different door, and Mneme only opens doors with proof you can read your own email. It’s signing the lease for this Codex install, not retyping your login.
Click the link in the email and confirm.
If you see Your account is not authorized to access Mneme — Mneme is in early access and accounts are added by hand. Reply to the invite email and we’ll add you.
Pick what this Codex can see
Mneme then shows the Authorize access panel with two checkboxes:
- Personal — Home, mobile, cowork — your full personal vault.
- Work — Work-tagged docs only. Enable on work devices so personal data stays private.
If you’re running Codex on a work machine, uncheck Personal. Your Codex sessions will see your work-tagged Mneme docs and nothing personal. (Why that matters →)
Click Authorize. The browser tab closes. Codex is now connected.
Check it works
Start a Codex session and ask it:
what’s in my Mneme vault about the architecture decision we made last week?
If it pulls a real excerpt back, the wire is live. From here on, every codex session has Mneme as the memory layer behind it — including notes, ingested PDFs, and the project decisions you saved from Claude Code or Gemini CLI two months ago.
That portability is the point. The same vault is reachable from every MCP-aware client you use. Switching from one to another, or running two in parallel, doesn’t lose your memory — it just changes the harness on top of it.
If you ever need to re-auth, run codex mcp login mneme again.
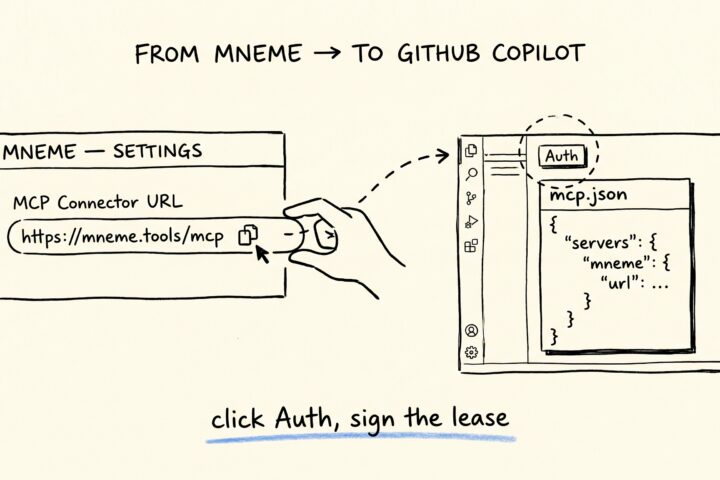
Connect Mneme to GitHub Copilot
GitHub Copilot in VS Code learned to talk to remote MCP servers in mid-2025, OAuth and all. Mneme is one of those servers. Five minutes to wire it up —…
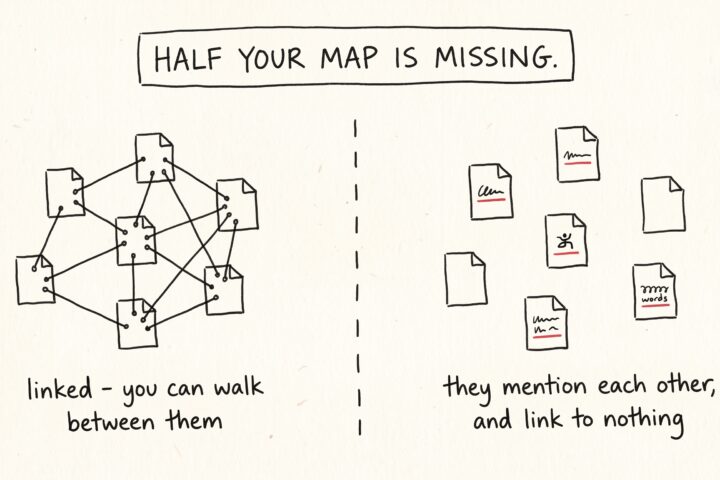
The links you never added
Open any note in your vault and read it the way a stranger would. It's full of references. A meeting note mentions a project. A recipe mentions the dinner party…